Pre-Passage Standing Rigging Survey: A Methodical Bottom-Up Inspection
Standing rigging fails in three places: at terminations, at fittings, and where the wire passes through anything that flexes. A good pre-passage survey is not about climbing the rig and looking. It is about touching every piece of metal on the boat that holds the mast up, in a fixed order, with a magnifying glass and a finger. If you do this every six months and before any passage longer than 200 nautical miles, you will catch 80 percent of the failures that put boats on the news.
Tools You Need
A 10x jeweler's loupe. A clean rag and a bottle of denatured alcohol (degreases wire so you can see it). A flashlight. A camera (your phone is fine). A bosun's chair and a halyard you trust, plus a person on deck. A small stainless dental pick - the kind hardware stores sell for $4 - is the single most useful rig tool you can own. Allow two hours for a 40-foot sloop, three for a cutter, four for a ketch.
Start at the Chainplates
Lift floorboards or open lockers and look at where the chainplates pass through the deck. You are looking for two things: corrosion at the fiberglass-to-stainless interface (rust streaks on the laminate are a tell), and any movement when you load the rig. Have someone on deck pump the upper shroud while you watch the chainplate from below. Movement greater than the thickness of a credit card is a problem.
Crevice corrosion in chainplates is invisible from outside. If your boat is over 15 years old and the chainplates have never been pulled, pull them now. No exceptions. This is the single most common failure mode in older bluewater boats.
Turnbuckles and Toggles
Drop the cotter pins. Wipe each turnbuckle with the alcohol. Look at the threads with the loupe for galling (rough spots) and at the bronze body for cracks radiating from the holes. Toggle pins should rotate freely. If they don't, replace them - they are $20 each and they are the part that breaks first.
Replace any cotter pin that has been bent and re-bent. They cost pennies. Use ring dings as a redundancy on critical pins, but never as the primary fastener.
Wire Terminations - The Big One
Swaged terminals (the most common) fail in three ways: hairline cracks at the top of the swage, broken wire strands inside the swage, and crevice corrosion at the swage-wire interface. The dental pick gets you the cracks: run it gently across the top of every swage, including the upper terminations on the mast. If it catches, you have a crack. Replace the wire.
Look for rust bleeding out of the swage. That is a wire strand that has corroded internally - the rod is dying from the inside. The terminal is done.
If you have Sta-Lok or Norseman fittings, they are inspectable - that is their entire pitch. Pull one apart per passage (rotate which one you do) and check the cone, the wire ends, and the wedge. If the cone shows any visible wear or the wire ends are not crisp and clean, rebuild it.
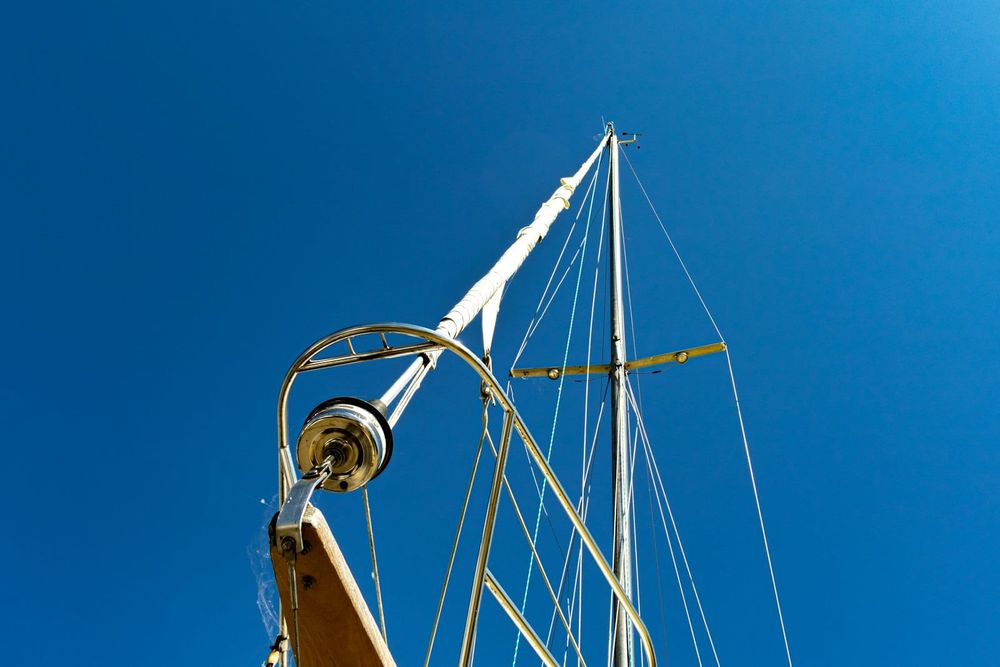
Spreaders, Tip Cups, and the Masthead
This is where you go up. Spreader tips should be square to the wire and have working tip cups (the rubberized boots that keep the genoa from chafing). Cracked or missing tip cups will tear a 130-genoa in 20 minutes. The spreader-to-mast attachment - usually a riveted or bolted bracket - is a load path that fatigues. Push the spreader fore-and-aft at the tip. If you feel any movement at the mast, the bracket is fatiguing.
At the masthead, check the masthead crane (the bit that holds the headstay), the backstay tang, and the masthead light wiring. Loose lights mean fretting. Fretting means a halyard sheave that will fail in the dark.
The Lifeline System Counts
Lifelines are not standing rigging, but they are how you stay on the boat in heavy weather. Vinyl-coated wire lifelines that are over 7 years old are throwaway. The corrosion is invisible under the vinyl. Cut a 4-inch section of an old one and look at the wire. If you see rust, replace all of them. Bare stainless lifelines are easier to inspect and last longer.
Document and Keep Going
Photograph each fitting with the date in the filename. Build a folder per year. After three passages you will be able to spot a marginal fitting because you have last year's photo of the same fitting. The rig that goes overboard is the rig that was never written down.