The Below-Waterline Audit: Through-Hulls, Osmosis, and Gelcoat
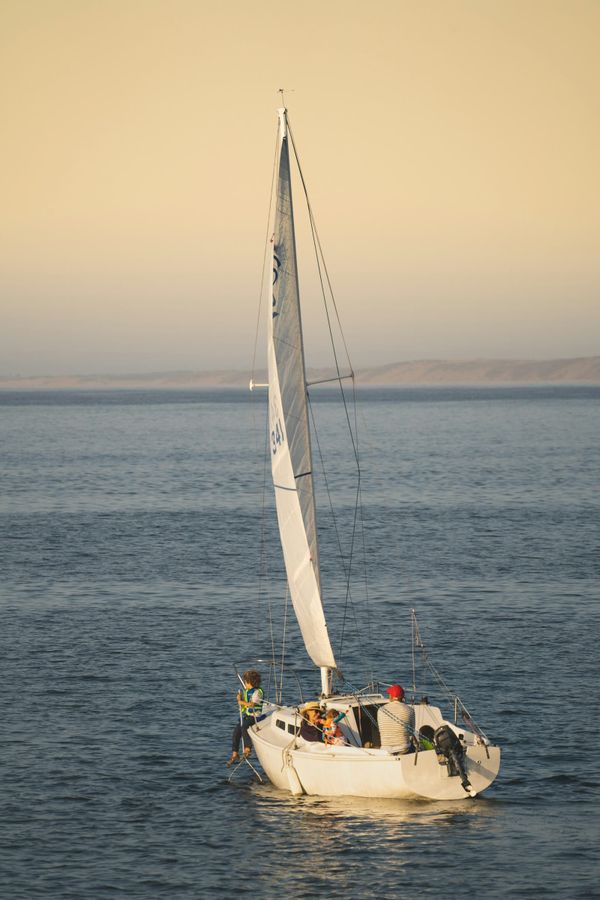
Every bluewater boat has a collection of holes drilled deliberately through its hull. That thought alone should focus your attention. Through-hulls, seacocks, and the gelcoat barrier that keeps the ocean on the outside are the unsung heroes of your vessel's integrity—and they demand regular, hands-on inspection. Neglect them and you are not just risking an expensive haul-out; you are risking the boat itself.
The Through-Hull and Seacock Audit

Start by making a complete inventory of every through-hull fitting on the boat. Most cruising yachts have between eight and fifteen, serving engine raw water intakes, head discharges, sink drains, cockpit scuppers, depth transducers, and speed logs. Locate each one, label it clearly, and record its type—ball valve, cone valve, or (if your boat is old enough) a gate valve that should have been replaced years ago.
The number one maintenance task is simply exercising each seacock. Turn every valve from fully open to fully closed and back again at least once a month. A seacock that has not been moved in a season can seize from corrosion and mineral buildup, and a seized valve is worse than no valve at all—it gives you a false sense of security. If a ball valve feels stiff, disassemble and grease it with proper marine seacock grease before the situation worsens.
For traditional cone valves, the annual service is more involved: remove the tapered plug, clean both the plug and housing with a degreasing agent, polish the mating surfaces with fine wet-and-dry paper or grinding paste, then reassemble with fresh waterproof grease. This ten-minute job per fitting could save your boat.
Hoses, Clamps, and the Weakest Link

A perfectly functioning seacock is useless if the hose connected to it fails. Inspect every hose run from through-hull to its destination. Look for cracking, hardening, softening, swelling, or any sign of chafe where hoses pass near sharp edges or hot engine components. Marine-grade reinforced hose rated for below-waterline use is the only acceptable choice—never use cheap clear PVC tubing on any fitting below the waterline.
Every hose connection to a seacock or through-hull should have two stainless steel hose clamps at each end, positioned so their screw housings do not overlap. Check each clamp for corrosion—even good 316 stainless can develop crevice corrosion in the warm, damp environment of a bilge. Replace any clamp that shows rust staining or feels rough to the touch. A box of quality all-stainless hose clamps is one of the cheapest insurance policies on the boat.
Finally, tie a tapered softwood plug to a lanyard near each below-waterline through-hull. If a fitting ever catastrophically fails, that plug can be hammered into the hole to stem the flood while you figure out a permanent repair. Every crew member should know where these plugs are and how to use them.
Osmosis: Catching It Early

Osmotic blistering is the slow-motion nightmare of fibreglass boat ownership. Water molecules migrate through the gelcoat, react with soluble compounds trapped in the laminate during manufacture, and create an acidic solution that draws in ever more water. The result is fluid-filled blisters that, left unchecked, can weaken the structural laminate itself.
Warm water and long immersion accelerate the process dramatically, which is why boats kept afloat year-round in tropical waters are most at risk—exactly the profile of a bluewater cruising yacht. Early detection is straightforward: at every haul-out, pressure-wash the hull immediately and inspect for small raised blisters, especially below the waterline near the keel and along the garboard area. Pop a few suspect blisters and sniff—osmotic fluid has a distinctive sharp, vinegary smell from the styrene breakdown products inside.
If you catch osmosis early, the treatment is manageable. The affected gelcoat is removed by peeling or blasting, the laminate is washed and thoroughly dried—often over several weeks in a warm, dry climate—and then rebuilt with solvent-free epoxy applied in multiple coats, rolled and bladed smooth. A proper epoxy barrier coat is essentially impervious to water ingress and, once applied, dramatically reduces the chance of recurrence. Budget four to eight thousand dollars for a professional job on a 40-footer, or significantly less if you do the epoxy application yourself.
Gelcoat: Your First Line of Defence

Prevention beats cure every time. The gelcoat is your hull's armour against osmosis, UV degradation, and impact damage. Treat it well and it will protect the underlying laminate for decades. Rinse salt water off after every passage. Wash with a neutral-pH marine soap at least quarterly. Wax or apply a ceramic coating twice a year to maintain the hydrophobic barrier.
Address nicks, scratches, and chips promptly. A small gelcoat repair kit—matching gelcoat paste, catalyst, masking tape, and wet-and-dry sandpaper—weighs almost nothing and should live permanently in your maintenance locker. A chip left open to salt water becomes a blister becomes an osmosis problem becomes a five-figure repair bill. Ten minutes with a gelcoat pen can break that chain before it starts.
Below the waterline, your antifouling paint protects the gelcoat from marine growth, but it also hides developing problems. Make the most of every haul-out by stripping a small test patch of old paint to inspect the gelcoat condition underneath. A moisture meter reading taken through bare gelcoat gives you a baseline that you can track year over year—rising readings are an early warning that warrants investigation before blisters appear.
The below-waterline audit is not glamorous work. It happens in boatyards, in bilges, and on your knees with a torch and a mirror. But it is the work that keeps your boat afloat, and there is no bluewater passage plan complete without it.