The Pre-Passage Rig Check: A Deck-to-Masthead Audit That Catches Failures Before They Find You

The rig is the one system on a bluewater boat that almost never fails politely. A bilge pump dies quietly; a rig failure tends to arrive in a crash of wire and aluminum, usually in the middle of the night and nearly always upwind. The good news is that rig failures are overwhelmingly predictable. A careful pre-passage inspection, done properly, catches most of them with weeks to spare.
Here is the deck-to-masthead audit we walk through before every offshore leg. Allocate half a day to it, do it sober, and treat anything you can't explain as a problem until you can.
Starting at the Chainplates
Chainplate failures are the most catastrophic rig failures a cruiser will experience, and they're almost always the result of ignored water intrusion at the deck seal. Before you even lift a halyard, pull the deck cosmetic covers off every chainplate. Look for rust streaks on the interior head liner, stress cracks radiating from the chainplate slot, and any gelcoat crazing on deck around the seal.
If you can get below decks at the bulkhead the chainplate bonds to, inspect the bolt heads and washers for rust or black corrosion streaks running down the bulkhead. That's seawater migration, and it means the chainplate is already compromised. On boats older than 20 years, pulling a chainplate for a dye-penetrant crack test is a once-a-decade minimum.
Deck-Level Turnbuckles and Clevis Pins
Once the chainplates are clean, work through each turnbuckle. Pull the tape or shrink cover and inspect every clevis pin for corrosion pitting, bending, or wear grooving on the bearing surface. Replace any pin that's even slightly loose in its hole. Budget a new cotter pin for every clevis regardless of condition; they cost nothing and age unpredictably.
Cycle each turnbuckle through half a turn in both directions. It should feel smooth. Any gritty resistance or sudden free play signals cracked threads inside the body — a hidden and expensive problem.
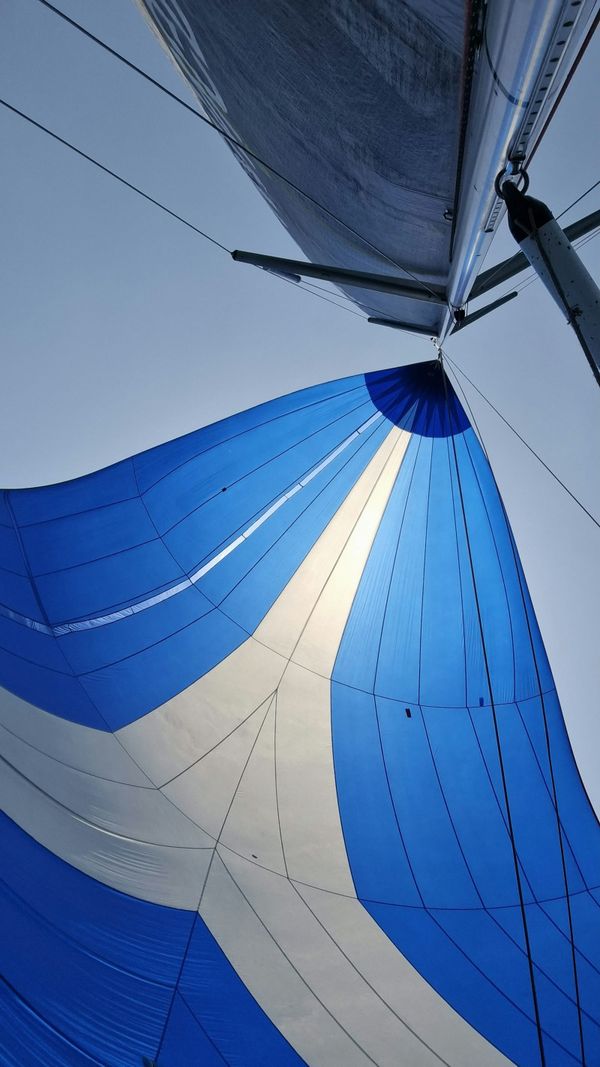
Standing Rigging: the Long Walk Up
For swaged 1x19, visually inspect every swage fitting for hairline cracks, rust weeping from the base, and any vertical striation. Flex the wire by hand at the swage exit — if you can feel broken strands under the cover, stop sailing. Dyform and rod rigging get different treatment: rod is almost always replaced on a strict time schedule (typically 10-12 years for continuous rod), not inspected; if your rod is older than that, replace it before the passage and skip the inspection theater.
A bosun's-chair trip up the mast for a slow, well-lit inspection is non-negotiable. Bring a bright flashlight, a camera with a macro lens, and a pocketful of zip ties. Photograph every terminal, both sides, so you have a baseline for next year.
Spreader Roots, Tips, and Tangs
Spreader failures are an underrated risk. Every spreader root should be inspected for cracking in the casting, excessive play in the pin, and corrosion where the spreader meets the mast. Spreader tips need clean, undamaged spreader boots and no pinch points where the shroud passes over the tip.
Every tang attachment at the mast — for lowers, intermediates, caps, and the forestay — deserves a slow, personal look. Any crack at the weld on a welded tang is a trip-ending issue. Bolted tangs need their bolts checked for corrosion and properly torqued.
Masthead: the Single Point of Failure
The masthead carries your VHF antenna, your wind instrument, your tricolor, your forestay terminal, your backstay terminal, and — on most boats — the spinnaker and main halyard sheaves. It's the single most critical cluster on the rig, and it's the point you're least likely to actually see.
Inspect each sheave for wear grooves, flat spots, and squeak. Replace a sheave that has developed a hard shoulder: it will chew through a halyard under load. Check the bearing for free rotation. Cycle the masthead tricolor and anchor light and make sure wire terminations at the light base are clean.
Running Rigging and Halyards
Halyards get replaced on condition, not calendar. Pull each halyard all the way out. Run it through your hands under moderate tension, feeling for hard spots, glazing, or cover damage. Any halyard with even a hint of core damage visible under the cover needs replacement before the passage, not after.
Consider carrying at least one spare main halyard and one spare jib halyard, rigged to the masthead and coiled at the base. You do not want to be going aloft in seaway to reeve a halyard when one breaks.
Tuning Before the Dock Lines Drop
Once everything is inspected, take the boat out for a day sail in moderate breeze. Check the leeward shroud tension with the boat pressed: it should be snug, not hanging slack. Sight the mast up the main halyard track for column straightness. Re-tape and cotter everything you touched. Write down what you did and what you put off. Then sail.